The first floor of the house had been stuck with builder-grade flooring since I moved in — beige carpet in the living, dining, and family rooms, and linoleum running from the front door back through the kitchen. The plan was to rip it all out and replace it with one continuous run of LVP, no doorway transitions, so the open floor plan would read as a single connected space with area rugs defining the zones. Fall 2023 project — about three months end to end, with the bulk of the install in a one-month push, Team Fireplace reunited, and after a setback at 80% done it all came together.
The idea#
When I moved into the house in 2019, the originally builder-grade flooring — a mix of worn-out carpet and linoleum — ran throughout the first floor. The linoleum started by the front door and ran to the kitchen; beige carpet was in the living room, dining room, and family room. It was time. Actually, it was way past time.
The house has a fairly open floor plan, and I wanted to avoid having transitions. From the front-door entrance you would look in and just see a continuous floor to the right into the living room and straight back to the kitchen. Another option would have been to do LVP only where the linoleum was and replace the carpet, but I wanted LVP everywhere with area rugs to demark several key areas.
The project#
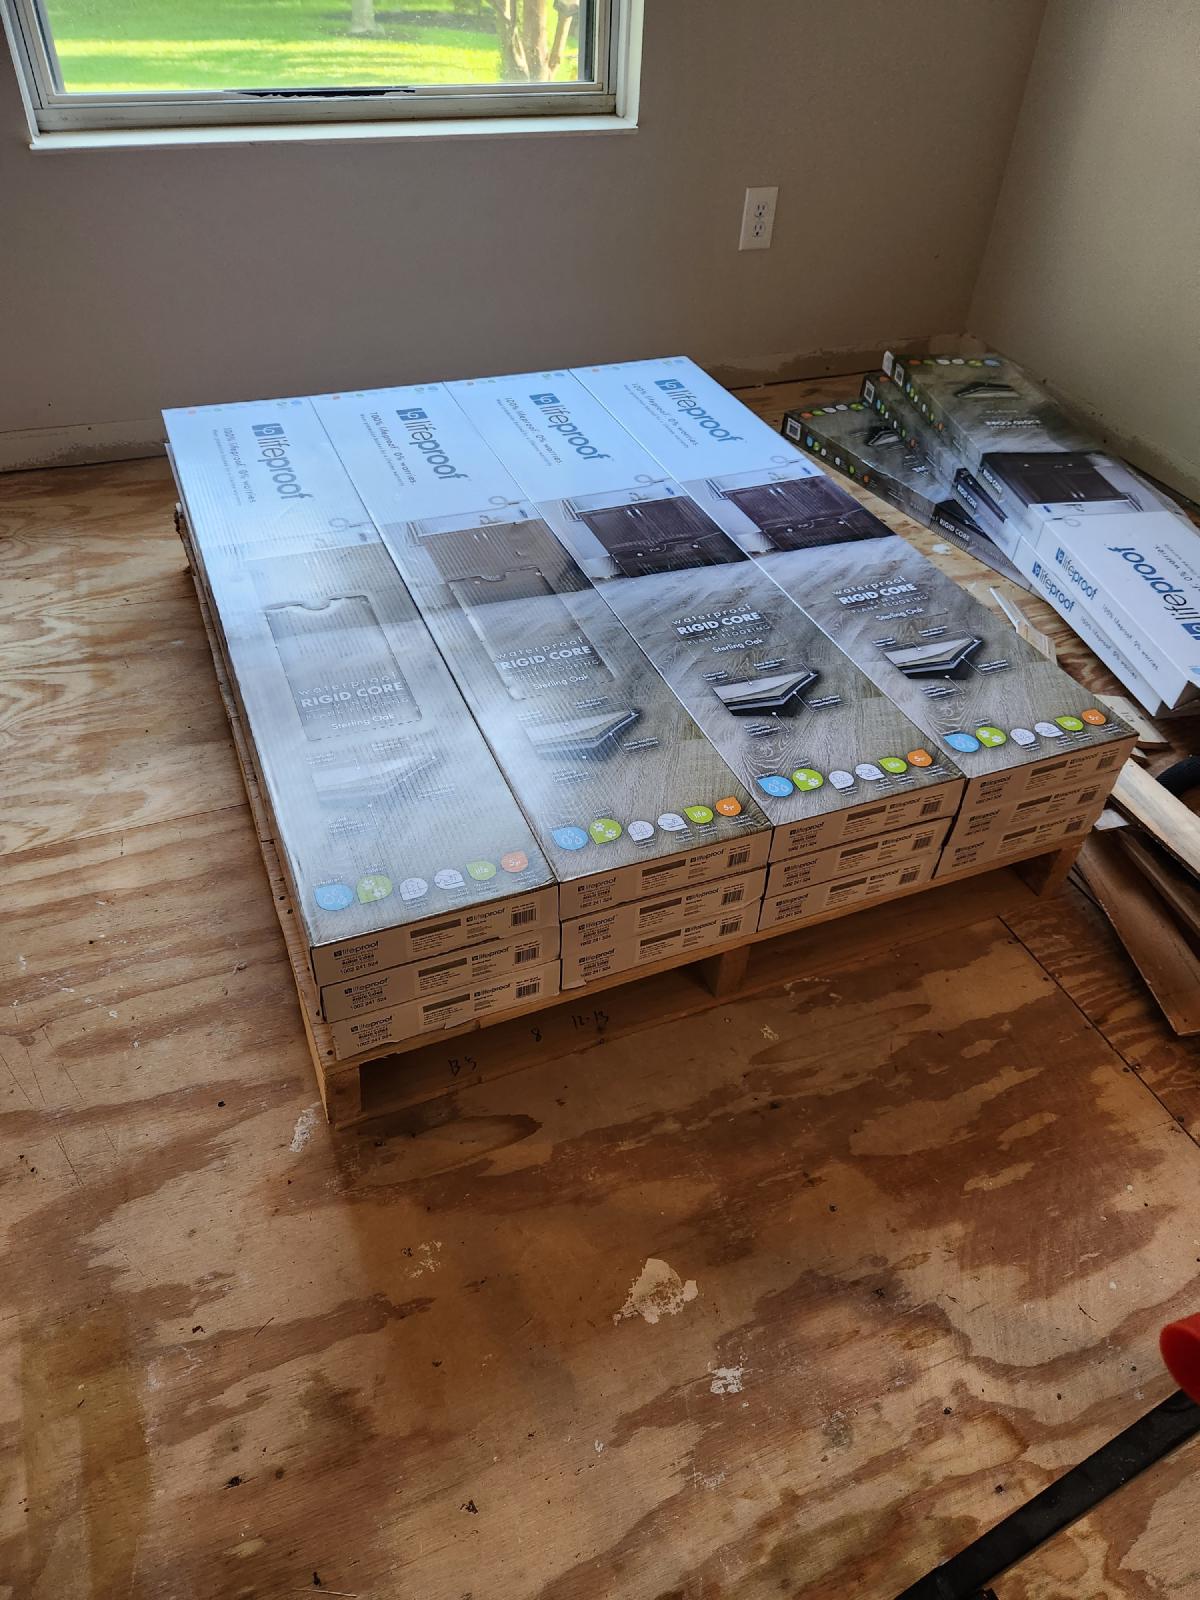
When it was time to get started, I recruited my daughter and Sweetie, and “Team Fireplace” was back. The plan was to knock the bulk of the work out in about a month — I didn’t want my furniture sitting in storage any longer than that. We moved my functioning home office down to the basement and the rest of the furniture out to storage. My extensive vinyl record collection got relocated upstairs — a job in and of itself: unload the shelf, move the shelf, reload the shelf.
Demo. First, all the builder-grade baseboards came off. I’d repainted everything white along with the doors and casings, but the baseboards weren’t worth salvaging — I’d just go with new after the new floor was down. Into the dumpster went baseboards, carpet, padding, and tack strips. I’d pulled up carpet before, so no surprises there. The linoleum, though — whew, that was a job. It sat on a quarter-inch underlayment tacked down with hundreds of tiny staples. We tried pulling it up at first and learned quickly that was way too much effort and the pieces were too big to manage. After some YouTube University sessions, I learned to cut out sections with a circular saw set to a shallow blade depth. That worked pretty well, but it left every staple behind. We pulled them out one by one — I didn’t like the idea of flattening them onto the subfloor, so every single one came out. That alone ate the better part of two weeks of evening sessions before the subfloor was clean and ready.
Planning. The planks needed to run horizontal so they’d be perpendicular to the joists. There were some unlevel areas, and I considered self-leveler. After much education and debate, I decided to skip that step — the slopes were within the tolerance of the LVP. I bought a laser measure and dropped every floor dimension into a spreadsheet, working out the layout so that edge pieces would be wide enough where they’d be visible, and any slivers would land in hidden areas. All of that planning and education took its own stretch of time before the first plank ever went down.
Most of what I learned about doing the install itself came from Joe at So That’s How You Do That on YouTube. His videos aren’t just instructional and complete — they’re confidence builders, which is exactly what a first-timer taking on a continuous run across the whole first floor needs.
Install. For the most part, the floor would build out in both directions. The first session was really just a practice run — getting comfortable with the click-lock, the cuts, and the rhythm. From there, the build crept forward over the following weeks of weekend and evening sessions: the hallway side first, then the living room side, then the laundry room and pantry, then the family room. Each session was a few rows of progress with enough cleanup at the end to keep the household livable.
But there was one place the two halves had to meet again and match precisely: the open doorway between the kitchen and the dining room. According to my spreadsheet, that junction was 25 planks in from the front of the house. Very little margin for error — and being a beginner at this, I was concerned. Off by a little at the start, magnified greatly twenty-five planks later.
To keep the run honest, I rigged up a small piece of plank with square brackets on either side that would hold the laser measure in place. That let me check the distance to the front and the back of the house as I went, watching for drift. Once the first five or six rows hit the stairway and the separation was achieved, there wasn’t much play — we were locked in, fingers crossed that the planks would line up at the doorway.
What surprised me#
The junction didn’t hit until we were about 80% done. The moment came: we lined up the seams, planned the cuts, and locked it in. So close, yet so far. There was a small gap where the planks wouldn’t quite meet. Probably not noticeable to most, but my pride was deflated.
Then the second realization landed. With all the flooring up, my intent had been to fix every floor squeak by torquing extra screws into the subfloor at the squeak points. I’d handled a major squeak in the kitchen but completely forgotten the one by the laundry room door — which was now under three rows of brand-new planks. Two issues now: the gap and the squeak. Lifting already-installed planks is not easy, and the internal debate was real.
In my mind, I thought back to my cross-country days, where we used to say “the pride lasts longer than the pain.” That settled it — pull it up and do it right. The matchup saga that followed spanned three sessions. We pulled the planks back to the laundry room, which also freed up the rows out to the transition point. I screwed the floor down hard, killed the squeak, and built back. That’s when Sweetie had a great idea: with a different starter length on the next side, we could minimize the contact point in the doorway to only about an inch — and the approach didn’t really break the seam pattern. We tried it. When it came time to fit the doorway row that met up with the other side… bingo. Fit like a glove. No issue. We were back on our way to perfect flow.
Result#
With the planks finally down, I could start moving furniture back — but the order mattered. New baseboards needed to go in first wherever something heavy was about to land, so I’d only move things once. The laundry room, kitchen, and living room got priority because that’s where the vinyl record shelf had to return. The front bathroom came next so the toilet could be remounted on top of new trim. The family room baseboards followed, and the rest of the house got picked off later.
For the baseboards themselves, I went with a taller profile thick enough that new quarter round was necessary — a clean look. Then I discovered something I should have caught upfront: the baseboards were going to sit slightly proud of the door casings, which I didn’t want to replace. I solved it with a quarter-inch router bit, curving the edges where they meet the casing. It looks fine. As Vancouver Carpenter says on YouTube: “A little caulk and paint will make you the carpenter you ain’t.”
Once the rugs were down and the spaces got reset, the house transitioned from “a house I’m working on” to a desirable home to live in. Combined with the fireplace makeover, and with the planks lining up perfectly under the stone, the whole downstairs looks great.
Takeaways#
- This was not a small project. Go in with eyes open.
- Doing it DIY probably saved me about $10,000. If you treat it as getting paid to learn — and you’re not afraid of mistakes that might mean buying more material — the math works.
- I’m certain I enjoy the floors at least 10x more than if I’d hired a pro to do it. Earned satisfaction is real.
- Trust your team. Sweetie’s contact-point idea at the doorway saved us — fresh eyes catch what tunnel-vision misses.